Follow the steps below on how to import Aconex documents when creating an RFQ and on an open RFQ.
Importing Aconex documents when creating an RFQ
To import a new document when creating an RFQ:
- Navigate to the Documents section during the RFQ creation process.
- Locate the relevant document group that you wish to import documents to.
- Click the Import File button beneath the relevant document group.
- Locate the document(s) you wish to import.
- Check the box beside the documents you wish to import.
- Click the Import button.

Click the Show Filters button to display the filters that can be used to narrow down your search results. Felix allows you to filter by various document properties to enable you to quickly and accurately find your documents.
Importing Aconex documents to a live RFQ
To import a new document to a live RFQ:
- Navigate to Projects > Requests for Quotation from the main menu.
- Locate the live RFQ you wish to import a new document to by using the quick search or filters.
- Click on the RFQ Job Name or hover over the ellipsis icon and select View Details from the options.
- Go to the Documents tab.
- Click the Add or Update Document button. You will be directed to the Communications > Addendum tab.

- Update the following fields:
- (Required) Title - Enter a title for the addendum in the field provided.
- (Required) Body - Enter your message in the body field.
- (Optional) Ref # - Enter a reference number in the field provided.
- Upload any relevant documentation by selecting from the options.
- Upload or revise local files- Select this if you are uploading new files or issue revised files then attach them in the dropzone link. You can attach both new files and issue revised files in the same message.
- To upload new files,
- Attach the file in the dropzone link and select New Document (Not a Revision) from the dropdown.
- Select the relevant Group and Service from the dropdowns and click the Send button.

If you are uploading a new, distinct document, select New Document (Not a Revision) from the dropdown.
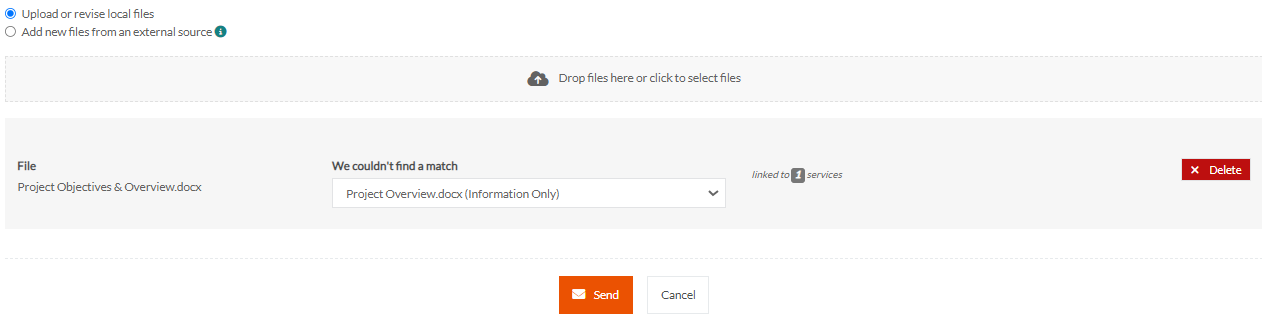
- To upload revised files,
- Attach the file in the dropzone link.
- Select the original document name from the dropdown and click the Send button.

Felix matches new file upload names with documents you have already released to vendors with the same RFQ. If the file name of the new upload is the same as one of the previously released documents, this attachment will be suggested as a revision of the matched document. In certain scenarios, a file may not be matched automatically. For example, the file name is significantly different from the original revision name. In this case, select the original document name from the dropdown.
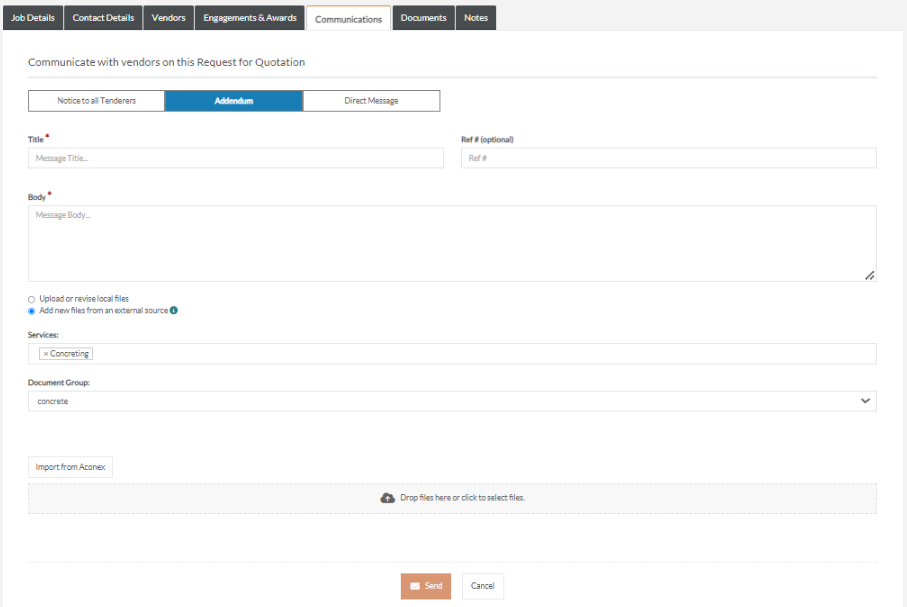
- Add new files from an external source - Select this if you are uploading new files from an Aconex Document Management System (DMS) integration.
- Select the relevant Services and Document Group from the dropdowns.
- Click the Import from Aconex button beneath the dropzone link.
- Select an option from each dropdown to filter and click the Apply Filters button.
- To select which document you would like to import to a live RFQ, click the checkbox beside the document number.
- Click the Import to RFQ button.

- To remove a document, click the x icon beside the document name.
- To download a document, click the down arrow icon beside the document name.
- Click the Send button.
Clicking the Add or Update Document buttons will take you to the addendum creation page. DMS documents that are imported to live RFQs are issued as an addendum message to ensure that vendors receive notification of the newly added documents.